Managing sewer tanks in an RV
while at a campground with a sewer connection is a straightforward process that ensures hygiene and comfort during your stay. Here’s a guide to help you manage your tanks effectively:
1. Understand Your RV Sewer Tanks
Your RV has two main tanks: the grey water tank for sink and shower drainage, and the black water tank for the toilet. Some units also have a galley tank which holds water from the kitchen sink. Knowing the capacity of each is crucial for timely maintenance1.
2. Use the Right Chemicals
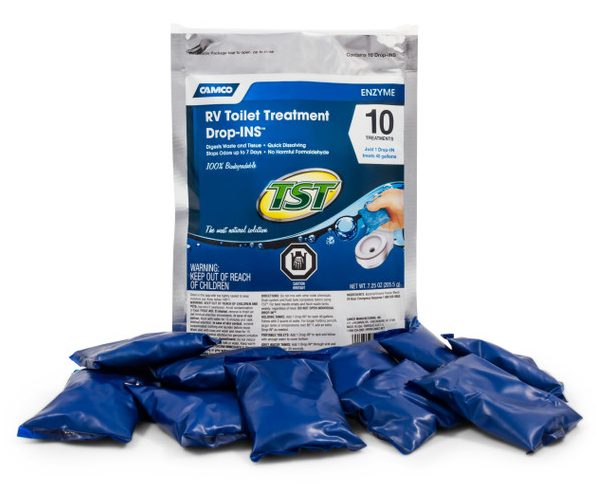
Add specific RV-formulated chemicals to break down waste and control odors in the black tank. These also help in maintaining the right environment for waste decomposition. Please use non-formaldehyde based treatments.
3. Connect to the Sewer

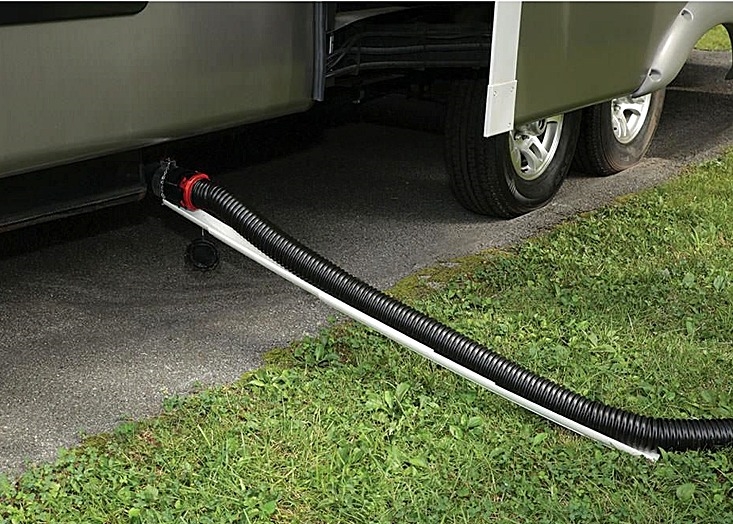
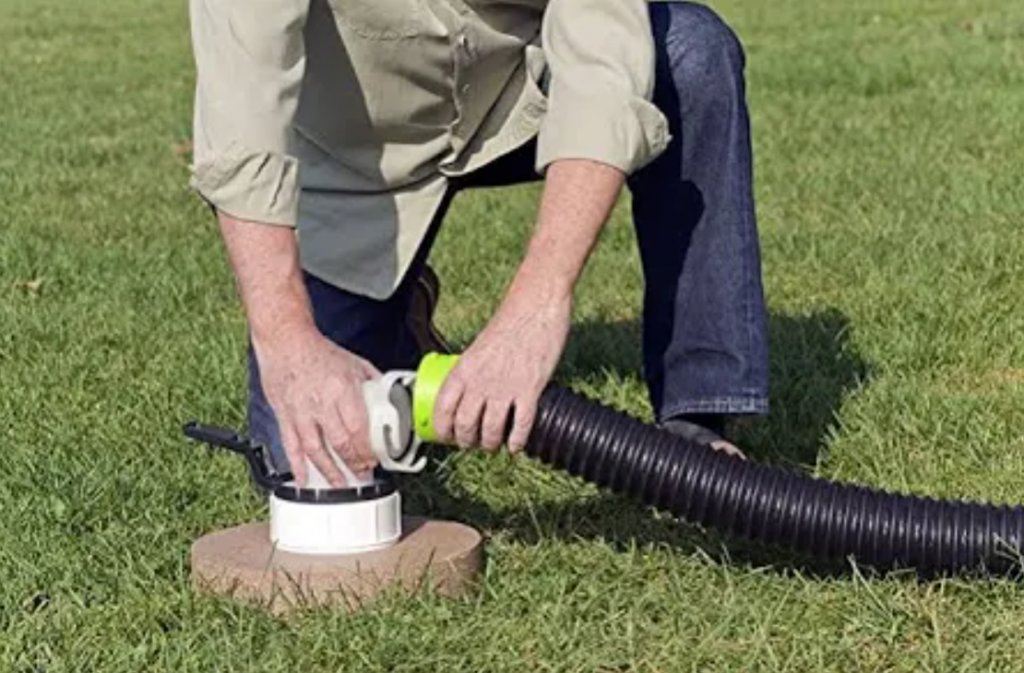
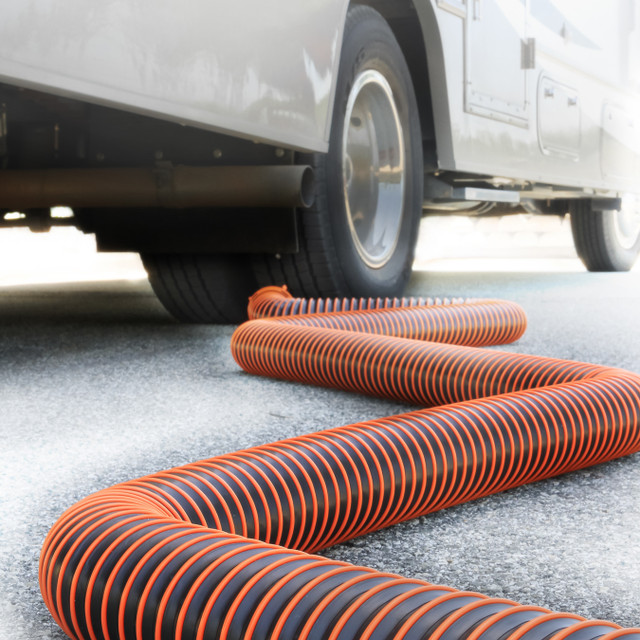
Use a high-quality sewer hose to connect your RV’s sewer system to the campground’s sewer connection. Ensure the connection is secure to prevent leaks and odors.
4. Keep Valves Closed
Keep the black tank valve closed until it’s time to dump. This prevents solids from piling up in the tank, which can cause blockages and odors. The grey tank valve can be left slightly open to allow soapy water to run through, which helps keep the sewer hose clean.
5. Dumping the RV Sewer Tanks
When your black tank is about two-thirds full, it’s time to dump. Connect your sewer hose to the dump station, open the black tank valve, and let the tank empty completely. After dumping the black tank, flush it with water, then proceed to dump the grey water tank, which helps clean out the sewer hose4.
6. Rinse and Repeat
After dumping, rinse the tanks with clean water to remove any remaining waste. This can be done by running water through the toilet and sinks or using a tank flushing system if your RV is equipped with one5.
 7. Regular Inspections
Regularly inspect your sewer hose and connections for wear and tear. Replace any components that show signs of damage to maintain a proper seal and prevent leaks3. You can set up a hard pipe sewer line for long-term connections.


